For quicker access to Search, Task view, Widgets, and Chat, Windows 11 features a revamped taskbar with a center alignment and numerous additional buttons.
However, the buttons are a waste of taskbar space because shortcuts (Windows key + S, Tab, W, and C) provide access to all of these features. Windows 11 makes it simple to reveal or conceal the buttons that show up on the toolbar if you don’t require any of them.
This tutorial will show you how to conceal several buttons in the Windows 11 taskbar to free up more space.
Remove taskbar items on Windows 11
Use these procedures to get rid of buttons that show up on the taskbar:
OpenSettings on Windows 11.
On Personalization, click.
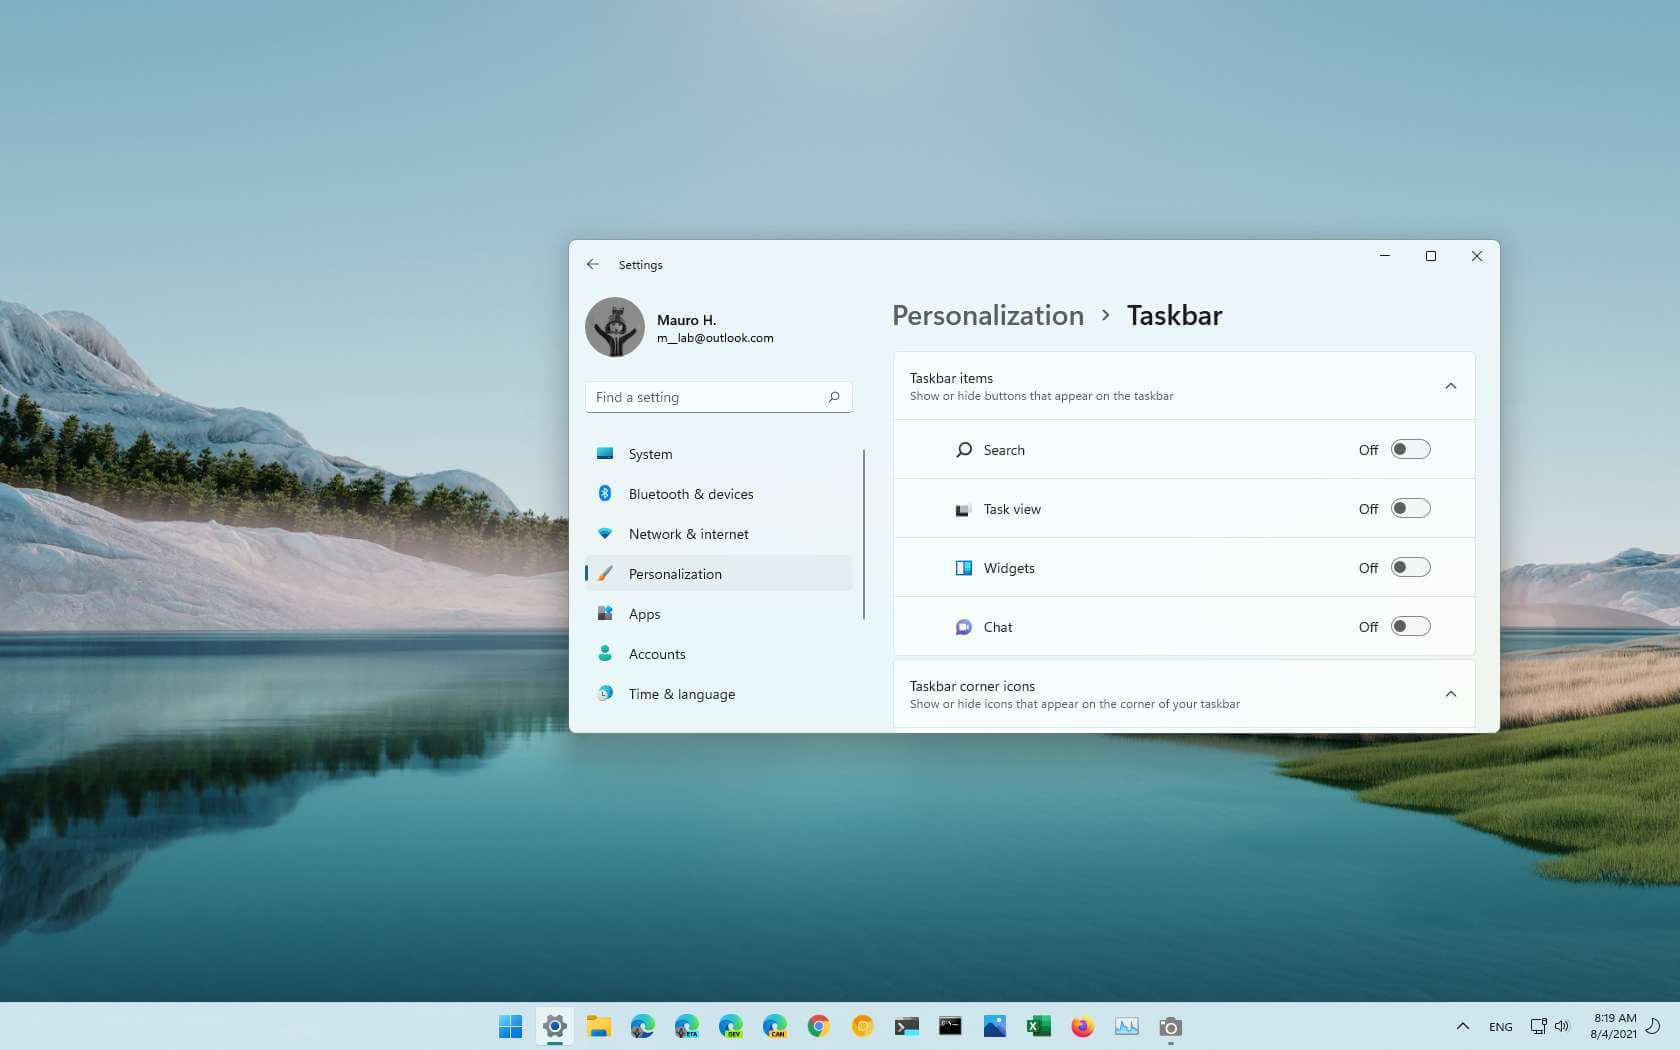
On the right, click the Taskbar page.
On Taskbaritems, click.
Taskbar settings in Windows 11
Switch the Searchtoggle off.
Switch off the Task view toggle.
Items on the taskbar
Switch off the Widgetstoggle.
Switch the Chattoggle off.
As an alternative, you can choose theHide from taskbar option for each item by right-clicking the button in the taskbar.
You can follow the same procedures as described above to add any of these buttons again, but this time make sure to activate the toggle switch for the objects you wish to see in the taskbar.