Thechkdsk (Check Disk) is a legacy command-line utility for Windows 10 that checks the file system’s integrity and fixes logical faults with a Solid-State disk (SSD) or conventional mechanical hard disk (HDD). If there is a physical issue with the storage or data did not commit correctly, the program can also repair faulty sectors.
The tool’s sole warning is that when you perform thechkdsk /r c:command, you won’t receive the scan results. Rather, the computer will reboot without any messages right after the scan. You may examine the scan results using the Event Viewer, though, as the utility saves them as an application log.
This post will teach you how to examine the output of the Windows 10 chkdsk command.
Review chkdsk scan results on Windows 10
Use these procedures to examine the event logs following a chkdsk command run:
Launch Windows 10.
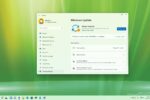
To launch the app, search for “Event Viewer” and select the top result.
Extend the Windows Logsgroup under the Event Viewer section.
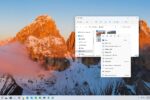
Choose the Filter Current Log option by right-clicking on the application logs.
The application Event Viewer
Choose the Wininit option from the drop-down menu under Event sources.
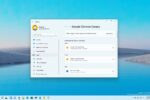
Wininit source filter application
Press the “OK” button.
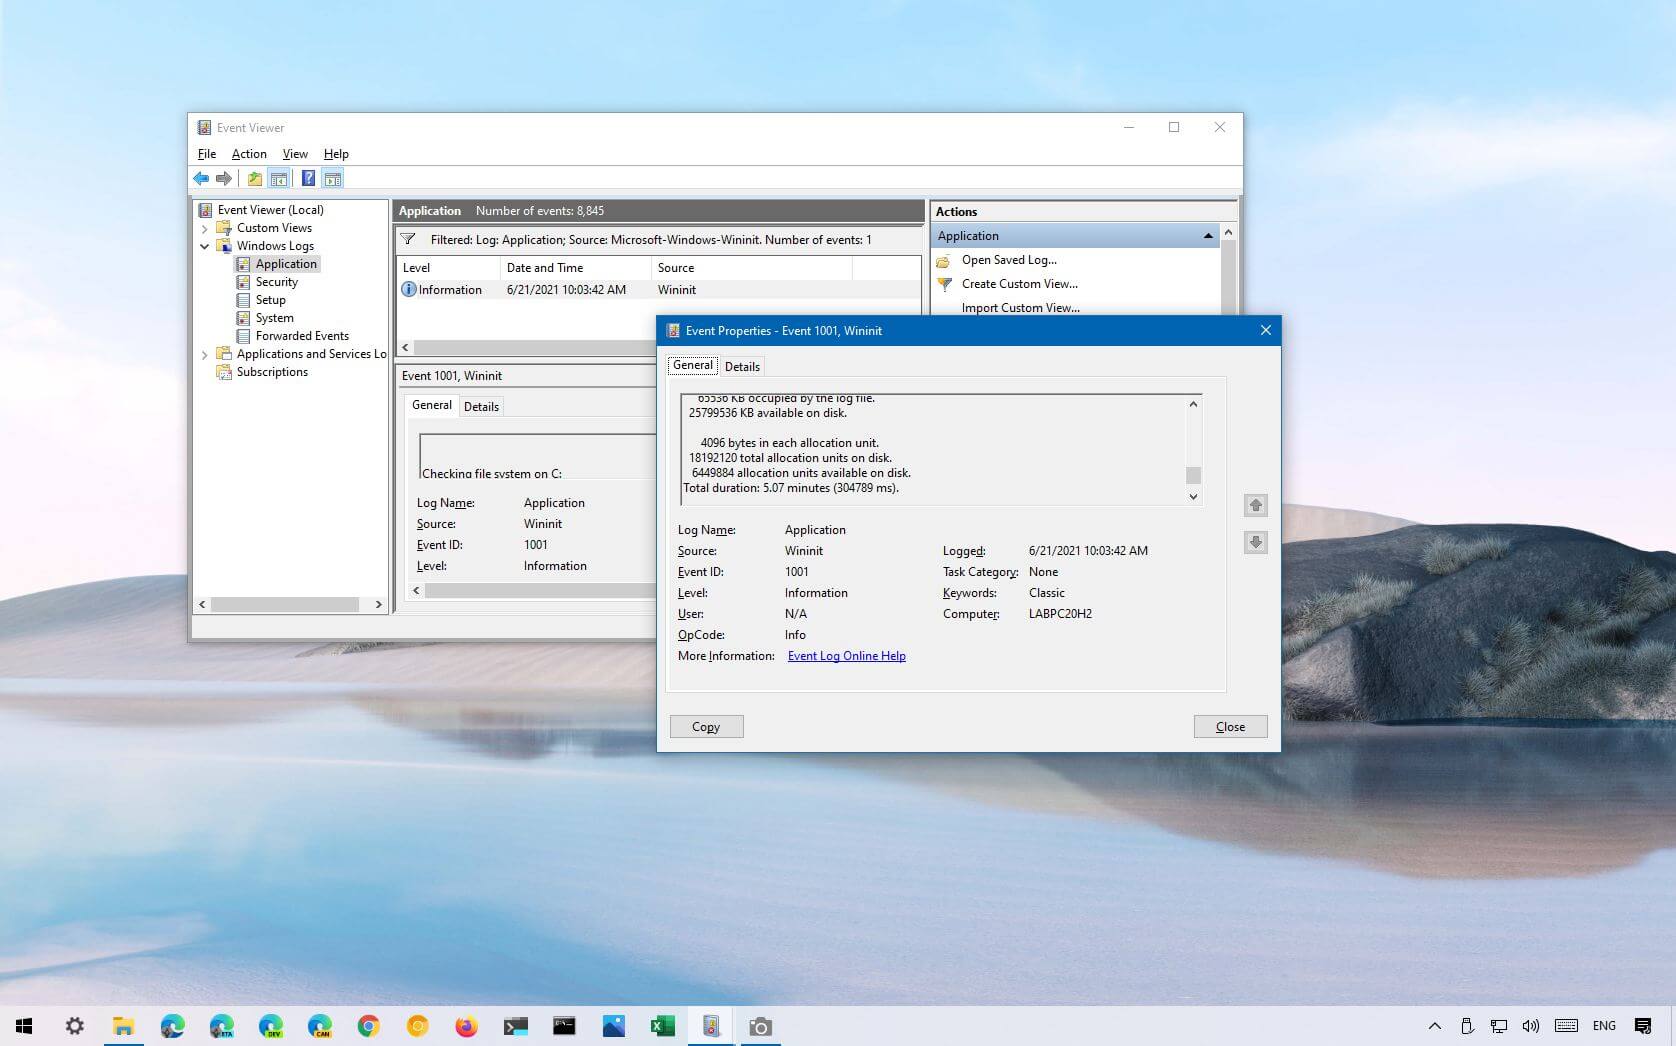
Use the Wininitlabel as the source when you double-click the log.
Select the General tab.
Examine the results of the chkdsk scan to find out what fixes the utility could accomplish on Windows 10.
Results of chkdsk
After you finish the procedures, you may check the chkdsk command scan results to see if the tools fixed every logical fault on the hard disk.